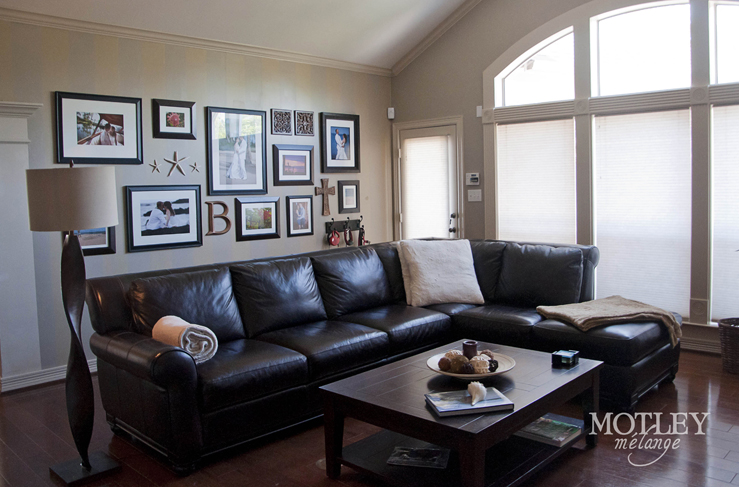
Creating a Wall Collage
The bells have rung, the bows all tied, and you’re finally home for your honeymoon just in time to get that happy email from your photographer…. YOUR PROOFS! Yes, you’re smiling at the thought of them! The smiles, the romance, the fun. It’s all captured and you cannot wait to display it. You have that special wall saved in your home for a collage of the happiest moments in your life. But how do you make it look perfect???
SIZE MATTERS
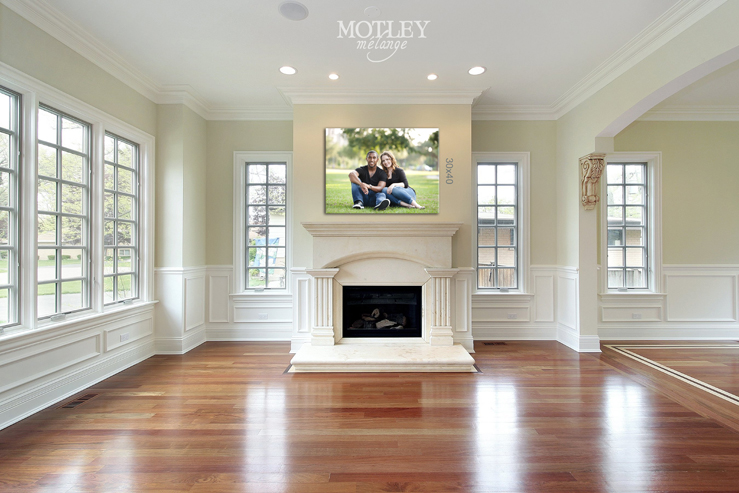
First thing to consider when attempting a photo wall design is to consider your space. It is important when hanging photos to have the appropriate space between them but also to have them at the correct level so your photos can be appreciated. If photos are hung too high in a small space, guests cannot get far enough away to enjoy the small details. Similarly, if you have cathedral walls in your living room and hang all your photos at less than 6 feet, your room might feel bare and empty.
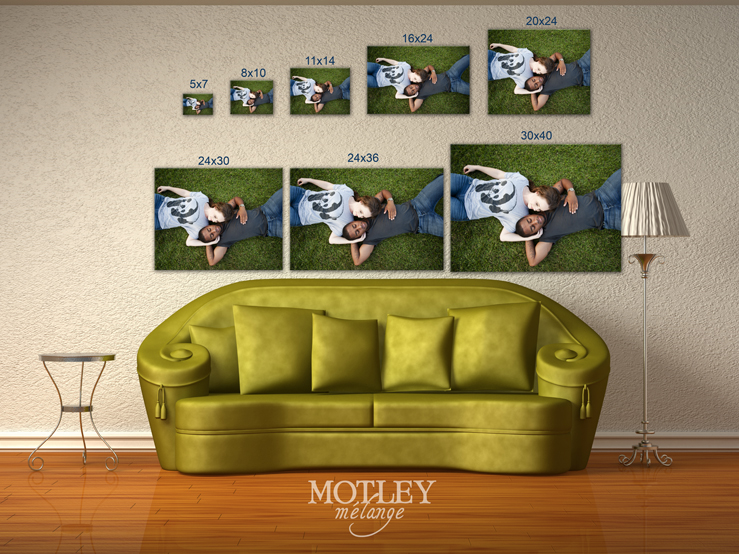
In addition, as you speak with your photographer, it’s hard to picture just how big that print is. An 11″x14″ versus the 20″x30″ might sound similar, but the size difference is HUGE! The graphic below is an excellent way to help understand just how big each print is.
WHAT’S IN A FRAME?
The next big question: Framing. To frame or not to frame. To mat or not to mat. Wood frame versus metal frame versus metal print vs block print…don’t get overwhelmed.
First, look at your room and decide what your style is. There is no rule that your frames have to match. You can use a variety of materials (wood, metal, mosaic, glass) but keep one thing in mind… you don’t want your frames to take away from your pictures. Sometimes unity in your frame choice is the best way to make our pictures stand out. Want unity with a little flare? There’s nothing that says you can’t have a variety of frame styles that are all the same color! One way to do this on a budget is to buy clearance frames or second-hand frames and use spray paint to make them all match.
Also consider your matting.. this can give a very clean look to the simplest of frames and also will allow you to fill a bigger space with smaller prints. As you select your frames, keep your print size, your space size, and of course, your planned arrangement in mind….
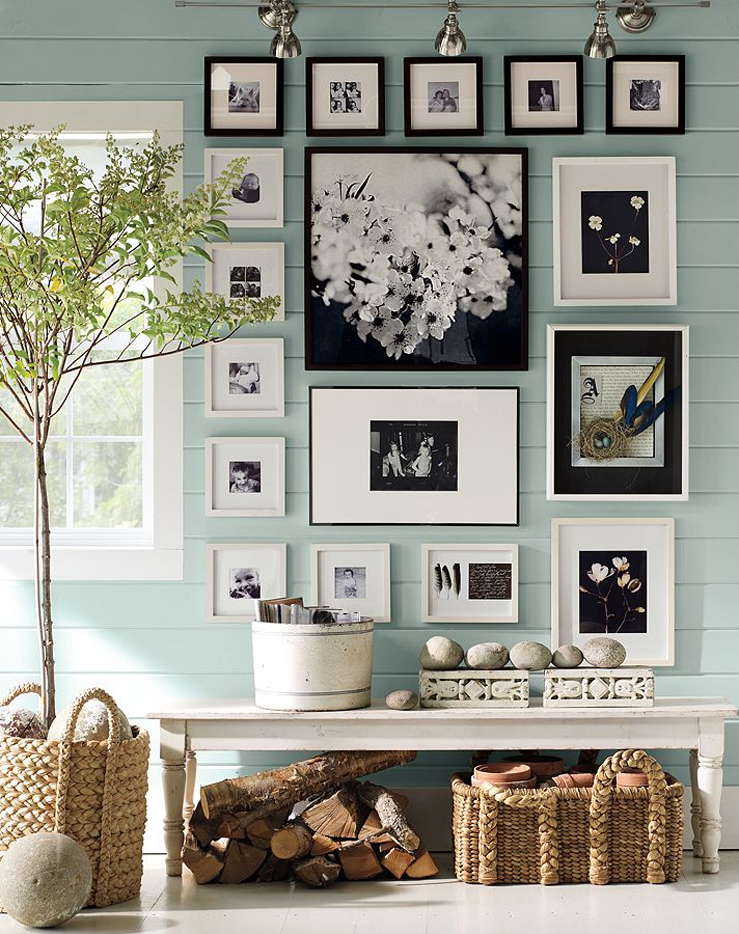
Photo Courtesy of Pottery Barn
A FLAIR OF FANCY!
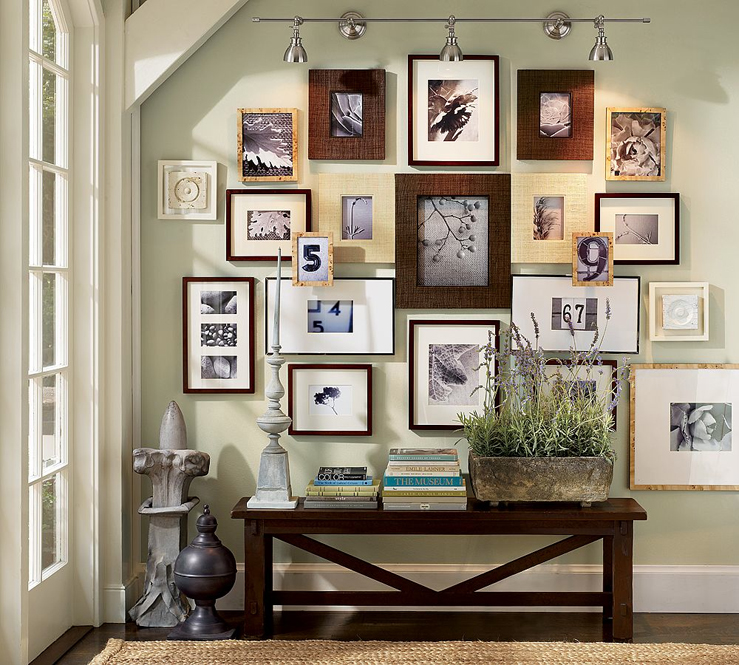
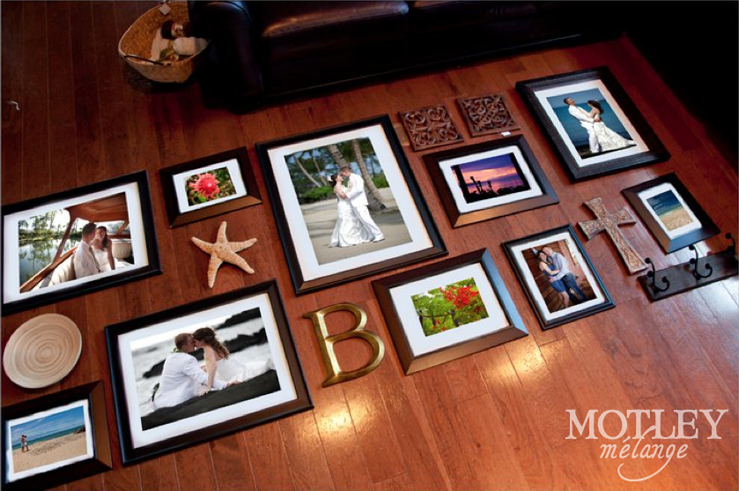
One thing you might consider incorporating in your photo wall isn’t a photo at all! In the examples shown below, shelves, plates, starfish, letters and souvenirs were added to give a little personal feeling and add warmth to the wall. Pottery Barn, Ikea, Target and Pier 1 all have shelves that are easily installed. If you use shelves on the wall, make sure to allow enough space in your arrangement for taller items (such as your bouquet or vase or statue) when you arrange your layout. Letters of your new last name together are always a fun way to make it personal. Collect items from your honeymoon that meant a lot to you and use those. Even plants can give that pop of green that will draw your guests eyes to your collage of memories.
Photo Courtesy of Pottery Barn
Photo Courtesy of Pottery Barn
ARRANGEMENT PREDICAMENT
As I mentioned above, arrangement is very important as you consider size selection and frame choice. First step, figure out how much space you have. My next recommendation is to buy a roll of craft paper (ususally found at the local dollar store) and tape this together into the correct size template for your wall (how much space you have to hang out photos).
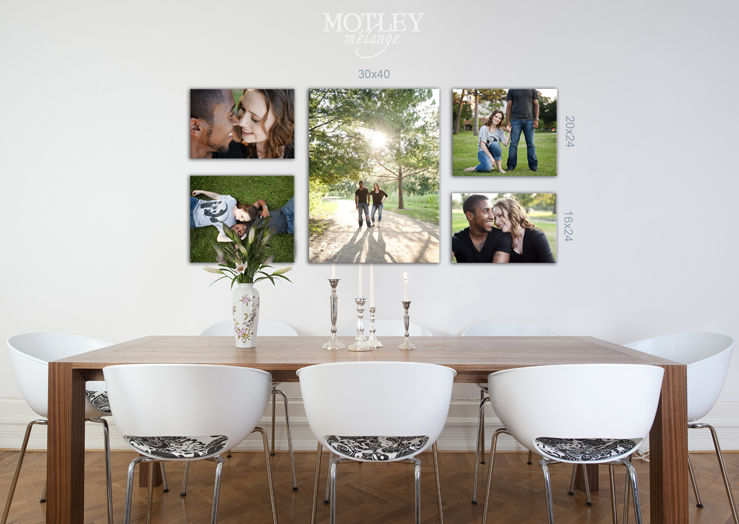
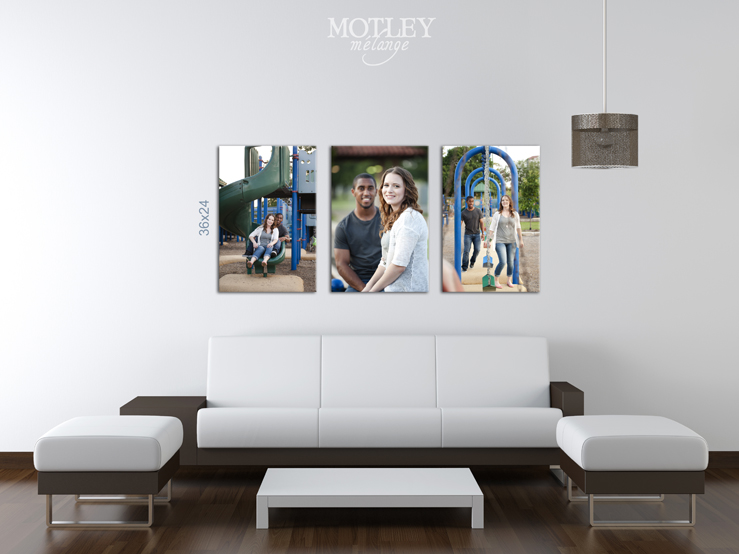
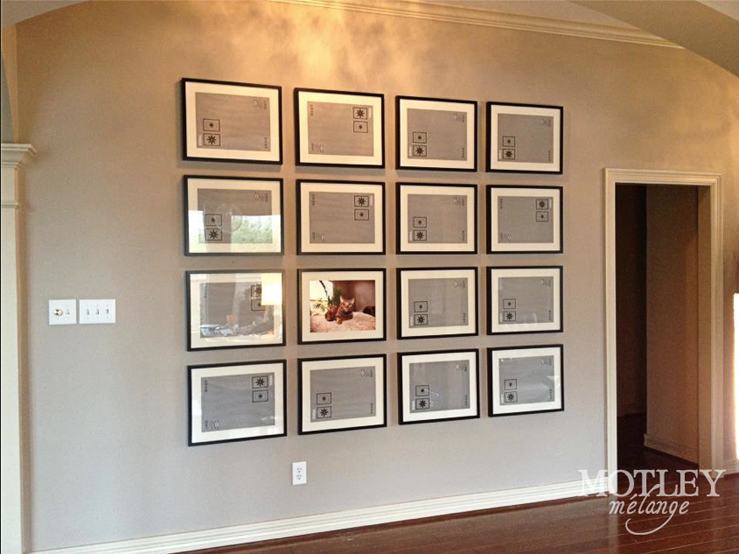
Once you have this paper template for the size, lay out your empty frames on the paper to decide the best lay out. Mix and match your sizes. Things to remember are keeping frames spaced based on a uniform measure. One way to achieve this is to draw guidelines every 4 to 6 inches on your template both horizontally and vertically. Lay the whole thing out on the floor before you even consider putting holes in your wall. This will allow you to make sure you like the way it looks before hammer and nail comes out.
A HANGING DISASTER
If any of you have ever hung paintings, photographs, or art, you know it can be a little difficult. Hanging a photo wall can be even harder if you are trying to keep your spacing correct and trying to keep photo A level with photo B. The best way to achieve this picture perfect spacing and arrangment is to follow a template.
Once you have your exact template laid out on the floor, trace around the photos with a sharpie marker so the lines are visible. Check the frames to see where your hangers are, or where the wire point will be on the back of the frame. Make an “X” on the outline of the templated frame to show where your hanger will need to sit. Now grab your hubby or a friend and hang your template on the wall using painters tape or some other non-marking tape. Use a level to make sure your guidelines are straight. Using your newly bought power tools from those wedding gifts (or a hammer and nails), install appropriate hangers for your frames onto the wall through the craft paper at the point of the X. Yes, you just nailed the craft paper to the wall, and yes, that is exactly what you’re suppose to do! Once all your hangers are installed, tear the craft paper away from the wall and hangers (carefully!). This should leave you a blank wall with your hangers intact.
Now, hang your photos in the correct spots, and add the special touches that make your wall unique!
Viola! Your masterpiece! Questions? Leave them in the comments and we’ll answer them as best we can to allow you to achieve Photo Wall Stardom!


